


You’ve heard about the power of no-code software and want to empower your faculty and staff with tools to build their own workflows. You’re making an excellent choice! Get ready to save time and money through faster workflow implementations and simpler software adoption.
As a no-code solution, Formstack knows a thing or two about no-code software selection and implementation. We’ve compiled this interactive checklist to help guide your higher ed institution with best practices as you move from researching no-code software to building your first workflow.
#1: Organize Your Stakeholders
Now that you’re familiar with the benefit of no-code tools, your next step is to spread the word! First, you’re going to need to get your team on board. To gather buy-in from key stakeholders, you’ll need to prove how a new solution will add value to your institution.
- Cultivate no-code champions within multiple departments across your institution.
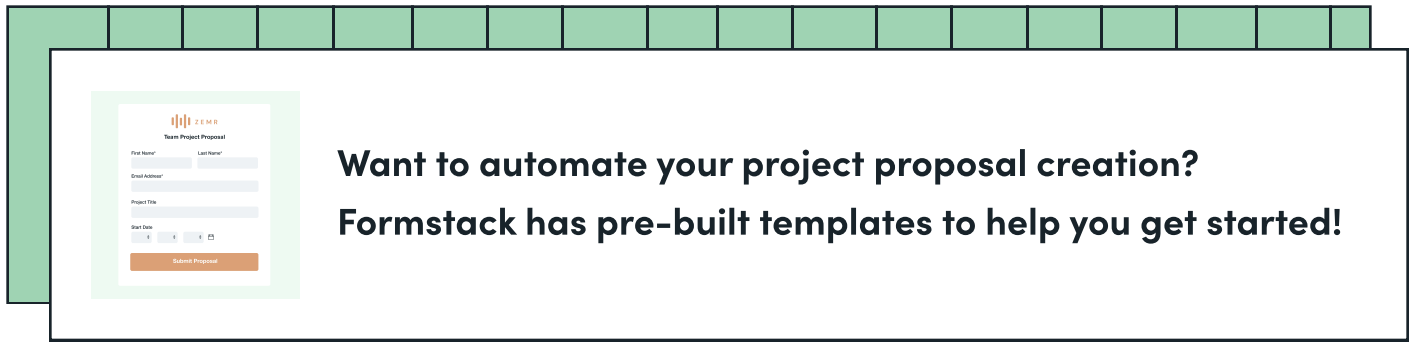
- Create a proposal that projects overall ROI, such as improving the prospective student experience or supporting interdepartmental information sharing.
- Work with the faculty and staff who will be using the no-code software every day to understand their needs and abilities.
- Coordinate with the person who will be responsible for the final decision on your no-code solution.
- Identify and share how no-code tools can save time, money, and resources for each department.
#2: Identify Your Needs
Apps and software are crucial to keeping your college or university running smoothly. But organizations often run into the problem of collecting too many point solutions rather than cultivating an efficient tech stack.
Take time to evaluate technical gaps in your institution to identify the problem a new solution would solve.
- Create a list of what workflows are working and what workflows need to be updated or added.
- Consider what a limited tech stack is currently costing your organization. If things aren’t getting done, that cost may be recouped by investing in no-code tools.
- Interview faculty and staff to learn where no-code tools would be most beneficial.
- Outline a timeline for software implementation, but remember that no-code software is built to be easy to use and adopt.
- Find ways to use one solution to solve multiple problems. For example, this might include opting for an integrated platform solution over multiple point solutions.
#3: Consider Your Integrations
Whether it's for admissions or classroom learning, your organization runs on software. So you’ll want to choose a solution that integrates with the tools you already use.
Here are some things to consider as you identify which tools you’d like your no-code solution to integrate with:
- Could data in your admissions software, CRM, or student engagement platform be more effectively used if you were able to easily and quickly connect workflows?
- How well is the data in your priority systems maintained? Could a simple no-code solution help faculty and staff keep information up-to-date.
- Would you be able to more effectively collaborate between teams if your new, no-code solution integrated with a priority solution in another department?
Once you’ve outlined the workflows you’d like to build or optimize with a no-code solution, take time to make a list of any software you currently use—or would like to use—in these processes.
Related: How to Conduct a Tech Stack Audit for Smoother Operations
#4: Make a List of Must-Haves
No-code and low-code tools come in all shapes and sizes, so take time to consider what’s most important to your team. Maybe you need a tool that integrates with your student engagement software or a solution with a dedicated customer support team.
Here’s a list of possible must-haves to help you narrow your search:
- Ease of Use
- Integration Options
- Open API for Custom Integrations
- Quality Customer Support
- Access to Professional Services
- Price (Initial Costs vs. Long-Term Costs)
- Ease of Setup
- Scalability
- Customization
- Security and Compliance Requirements
- Reporting and Analytics
- Ongoing Maintenance Requirements
- Agility and Flexibility
#5: Research Solutions
Now that you know what problems your organization is trying to solve and what you need out of a no-code solution, it's time to do some research. These resources will help you to narrow down your search and compare tools based on your outlined criteria. Make a list of your top five no-code solutions.
#6: Schedule a Demo
Now that you’ve done your research and assessed your software needs, you’re ready to schedule some demos. Share your list of must-haves with the sales rep for each tool you’re considering and have them respond to every line item. There is no one-size-fits-all solution, but knowing where solutions fall short or rise above the rest will help you make your decision.
- Book a demo.
- Start a trial.
- Have your everyday users test possible tools for usability and functionality.
- Connect with customer support or professional services.
#7: Implement Your Software
Once your stakeholders are on board and you’ve narrowed down your no-code choices, it's time to make things happen! No-code tools are built to be implemented quickly and scale with your organization, so you’ll be up and running in no time.
- Identify how you will measure the success of your no-code software implementation. These key performance indicators might include number of departments adopting the solution, time saved on workflows, reduced volume of IT support tickets, or how many workflows are improved with no-code.
- Choose a couple of key workflows to test before rolling out your chosen no-code solution to the entire department or organization.
- After testing, identify best practices for creating new no-code workflows.
- Use your no-code champions to show faculty and staff within each department how to quickly spin up new workflows.
#8: Launch Smoothly
A well-executed launch can make or break the adoption of your new no-code software.
- Test new workflows multiple times.
- Document the entire process from start to finish in simple steps and terms.
- Get users outside the project team to test and provide feedback.
- Designate one person to handle all questions, concerns, and issues.
Empower your college or university with no-code
Discover how no-code tools like Formstack make it easy to digitize processes, save time, and do your best work. Quickly automate the processes that matter most to your organization—securely, in the cloud, and without code.